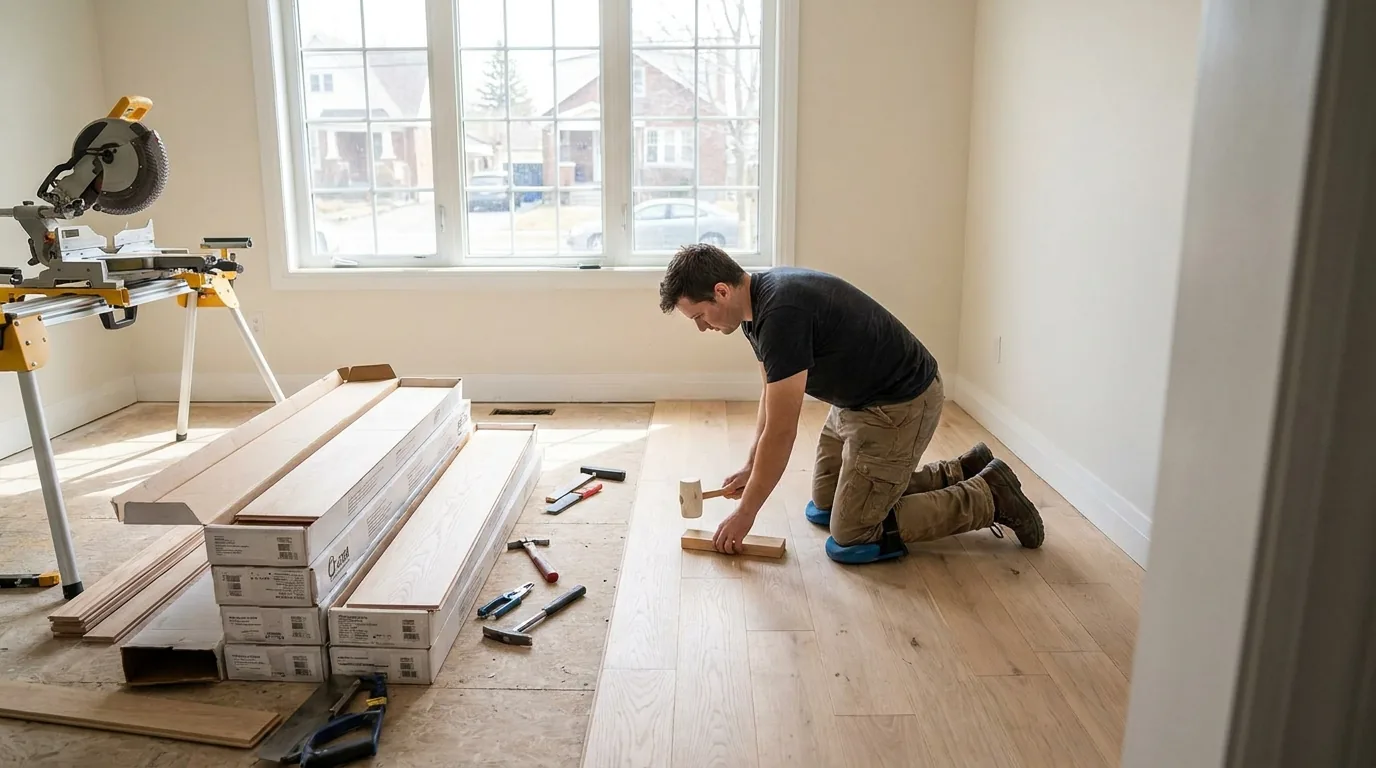
Hardwood is one of the few DIY flooring jobs where the gap between a careful homeowner and a flooring crew is small. The tools rent by the day for a modest fee. The math is straightforward. The patience required is real, but it's the kind of patience anyone can muster on a weekend.
What kills DIY hardwood jobs in Ottawa is not the nailing. It's the four steps that happen before the first plank goes down. Subfloor flatness, moisture content, expansion gap, racking pattern. Get those wrong and you will hear about it every winter when the boards cup, gap, or squeak.
Here is the honest version of what hardwood installation actually requires.
Subfloor flatness: 3/16 inch in 10 feet, no exceptions
The industry standard for hardwood subfloors is 3/16 inch of variation maximum across any 10-foot span. That is not a suggestion. That is the number the National Wood Flooring Association uses, the number the manufacturer's warranty references, and the number that determines whether your floor squeaks in two years.
You measure it with a 10-foot straightedge or a long aluminum level laid across the subfloor in multiple directions. Anywhere a feeler gauge or a tape measure shows more than 3/16 inch of gap between the straightedge and the subfloor, you have a flatness problem.
The fix depends on the direction. High spots get sanded or planed down with a belt sander. Low spots get filled with a self-leveling compound or, for small dips, with construction paper or felt shims under the planks. In an old Ottawa house with original 1x6 plank subfloors, you will almost always find a 1/4 inch or more of variation across the room. Plan a full day for flattening before you open a single box of hardwood.
The plywood layer most DIYers skip
If your subfloor is original 1x6 board sheathing (common in Ottawa homes built before 1960), you should sheath over it with 5/8 inch tongue-and-groove plywood before installing hardwood. The board subfloor moves seasonally, the boards open and close at the joints, and nailing hardwood directly into it transfers that movement straight into your finish floor. The plywood overlay locks the substrate down and gives you a flatter, more stable base for nailing.
Moisture acclimation: the step that takes a week
Hardwood is a hygroscopic material. It gains and loses moisture with the air around it, and that moisture exchange causes the boards to expand and contract. If you nail down hardwood that is wetter than your house's normal humidity, the boards will shrink in winter and you'll get gaps you can drop a quarter through. If you nail down hardwood that is drier than your house, the boards will swell and cup as the seasons change.
The acclimation rule: hardwood needs to sit in the room where it will be installed, opened from its boxes and stickered (small spacers between rows for air flow), for a minimum of 5 to 7 days before installation. The HVAC system needs to be running at normal occupied temperature and humidity. You measure both the wood moisture content and the subfloor moisture content with a pin meter. The wood and subfloor should be within 4 percentage points of each other for solid hardwood, within 2 points for wide planks over 5 inches.
In Ottawa, our winter indoor humidity drops to 25 to 35 percent. Our summer humidity climbs to 50 to 65 percent. The seasonal swing is what makes acclimation so important here. Boards installed in July at 12 percent moisture content will dry to 6 percent in February and gap. Boards installed in February at 6 percent will swell in summer and cup.
Expansion gap: 3/4 inch around the entire perimeter
Wood moves. The whole field of flooring expands and contracts as a unit. If you butt the planks tight against the wall on every side, the expansion has nowhere to go and the floor will buckle, cup, or push the baseboards off the wall.
The standard expansion gap is 3/4 inch around the entire perimeter, including against walls, around posts, around the toilet flange in a powder room, and at every transition to another flooring type. The baseboard or quarter-round trim covers the gap. The floor floats inside the gap.
For rooms wider than 25 feet in either direction, the expansion gap rule changes. You need an intermediate expansion break, usually a T-molding at a doorway, because a single uninterrupted run of hardwood that long generates more expansion force than the perimeter gap can absorb.
Racking pattern: the part DIYers wing
Racking is the layout of how the boards stagger end-to-end as you work across the room. Done right, the joints scatter randomly across the field. Done wrong, you get H-patterns (parallel joints in adjacent rows) or repeating step patterns that look like a staircase.
The rule of thumb: end joints in adjacent rows must be a minimum of 6 inches apart, ideally 12 inches or more. Pull boards from at least three open boxes at once and lay them out dry across two or three rows ahead of where you're nailing. This lets you mix grain colors, mix board lengths, and avoid the H-pattern.
If you nail boards as they come out of a single box in sequence, you'll end up with a noticeable repeating pattern. Once it's nailed, you can't undo it. Spend the extra hour pre-laying.
Tongue-and-groove nailing: the actual install
The first row is the only row that gets face-nailed (nail driven through the top of the board) along the wall side, because there is no tongue-and-groove joint to capture the nail at the wall. The face nails get filled later with matching wood putty.
Every subsequent row is blind-nailed through the tongue at a 45-degree angle with a pneumatic flooring nailer. The nailer is a rented tool with a rubber mallet head. You strike the actuator with the mallet and it drives a 2-inch cleat through the tongue into the subfloor. Nail spacing: 6 to 8 inches along each board, and within 2 inches of every end joint.
The last 2 to 3 rows can't be reached by the flooring nailer because the wall is in the way. Those rows get face-nailed with finish nails or a 16-gauge brad gun, and the last row often needs to be ripped to width on a table saw to fit the remaining gap.
Engineered vs solid: the Ottawa-specific answer
Solid 3/4-inch hardwood is the traditional product. Engineered hardwood is a multi-ply plywood substrate with a real hardwood veneer (1/8 to 1/4 inch thick) glued to the top. Both are real wood. Both can be refinished, though engineered only 1 to 3 times depending on the veneer thickness.
For Ottawa's climate, engineered hardwood is the more forgiving product. The plywood substrate is dimensionally more stable than solid wood through our humidity swings, which means less cupping and gapping. Engineered also works over concrete slabs (basement floors) where solid wood does not, and it can be installed as a floating floor with a click-lock system, which removes the nailing step entirely for DIYers.
Solid 3/4-inch oak or maple is still the right call for main-floor refinish projects in older Ottawa homes where you want to match the existing original hardwood. For new installations, especially over concrete or in basements, engineered is what we install on most of our jobs.
The four steps before the first plank decide whether your floor is silent for 30 years or squeaky in two. Nailing is the easy part.
Where DIY hardwood actually fails
The failure I see most on tear-outs is not the nailing. It's the homeowner who skipped acclimation because the delivery date and the install date were the same week. The boards went down at one moisture content, the seasons changed, and the floor either gapped or cupped.
Second most common: subfloor flatness ignored. The floor squeaks at the high spots where the planks rock on the bumps and the cleats slowly work loose. By year three, every step makes a noise.
If you're going to DIY, budget the time. A 200-square-foot room in Ottawa is a 5-day project for a careful first-timer: one day for subfloor prep, one day to acclimate (with the boards stickered for the prior week), two days for the install, one day for trim and putty. If you compress it into a weekend, you'll skip steps and the floor will tell you about it later.
For larger projects, refinish jobs, or installations over a concrete slab, this is where we usually get involved. Hardwood is one of the longest-lasting finishes in any home renovation, and getting it right the first time is worth the extra care up front.