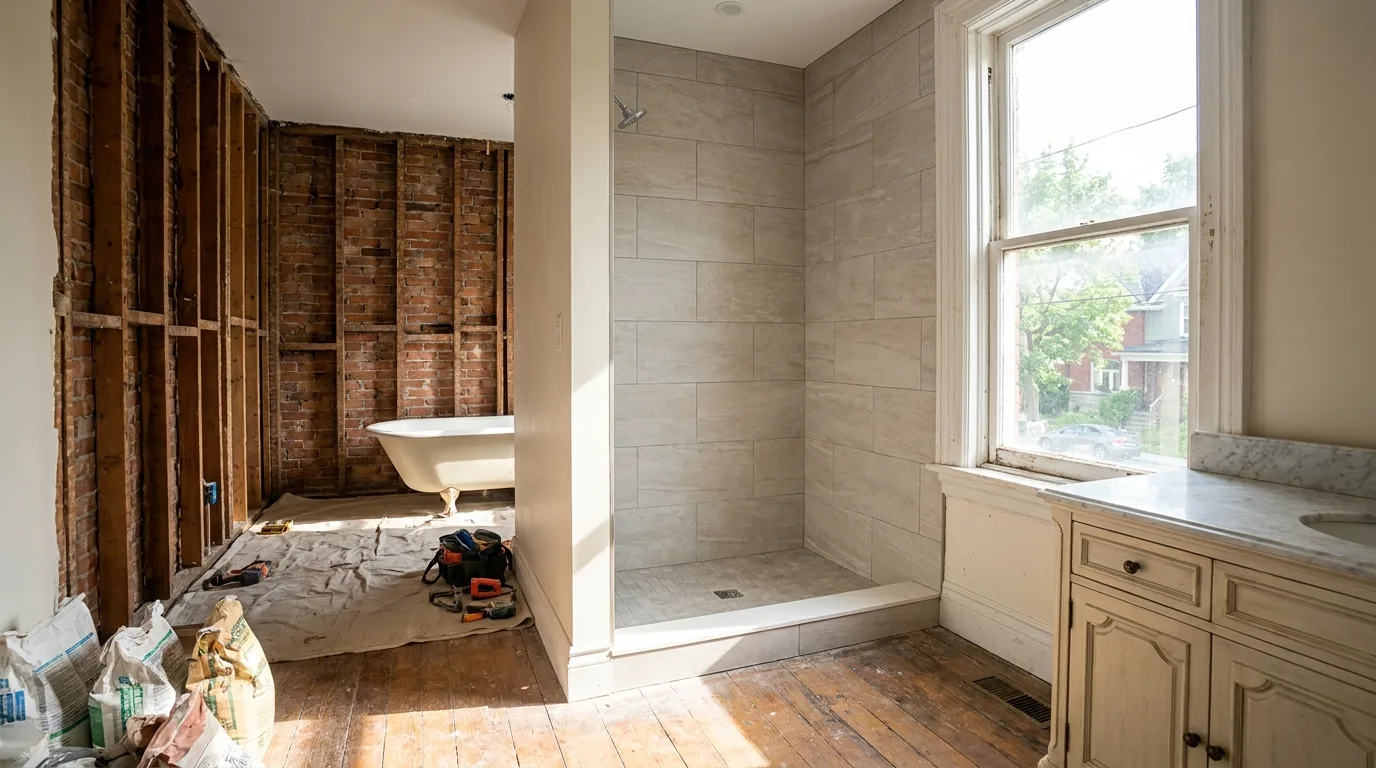
The owners had lived with this bathroom for eleven years. A 1908 row house, second floor, primary ensuite squeezed into what used to be a closet. Pink tub, builder-grade pedestal sink, fluorescent box light. Real heritage charm everywhere else in the house, and then this room.
They called us in October. We finished the week before Christmas. Delivered on a fixed-price written proposal covering everything from demo to the last brass towel hook. Here is what we did and why.
The starting point
The room measured 7'2" by 9'4". Not tiny by Glebe standards, but the layout made it feel like a phone booth. The 60-inch tub sat on the long wall with the toilet jammed beside it. Sink on the short wall, door swinging in. You could not open the vanity drawers without closing the door first.
The plumbing stack ran up the back corner, which we could not move without opening the kitchen ceiling below. That single constraint shaped the whole design.
The new layout
We kept the stack location. We moved the toilet to the wall opposite the door so it stops being the first thing you see when you walk in. Tub came out entirely. In its place: a walk-in shower running the full long wall, 36 inches deep, with a linear drain at the threshold.
The freestanding tub went under the original sash window. North-facing, but the light is honest and the homeowner takes baths almost every night in winter. That spot earned its keep.
Vanity: 60-inch double, wall-hung, with a single 12-inch tower of drawers in the centre. Door now swings out into the bedroom, which gave us another six inches of usable floor.
Why a wall-hung vanity in a heritage house
The original baseboards in this room had a 6-inch profile we wanted to keep visible. A floor-mounted vanity would have eaten that detail. Wall-hung lets the trim run continuous behind the cabinet and reads as a clean, intentional move. It also makes the floor easier to mop, which matters more than people admit.
Materials we picked and why
The brief from the owners: warm but not country. Heritage but not Victorian-museum. Brass somewhere because the original front-door hardware is brass and they wanted continuity.
- Floor: 12x24 limestone-look porcelain, sand colour, micro-textured surface for grip. We used porcelain instead of real limestone because the upstairs bathroom in a 118-year-old house gets occasional flex from the joists, and porcelain handles that. Real limestone would crack at the grout lines within five years.
- Shower walls: 24x48 vertical porcelain in the same family, run floor to ceiling. Three pieces per wall. Fewer grout lines, easier to clean, looks like one slab from across the room.
- Vanity: rift-cut white oak, slab fronts, no upper hardware. We built it in our cabinet shop with plywood boxes and full-extension undermount drawers. Counter is 2cm Caesarstone in a bone tone with a slight veining.
- Plumbing fixtures: brushed brass on the vanity faucets and tub filler, matte black on the shower trim and toilet flush plate. Two metals, used in zones, not jumbled together.
- Lighting: a 4-bulb sconce above the vanity mirror in unlacquered brass that will patina, plus 2-inch recessed pucks on a separate dimmer over the shower and tub.
The mixed-metals question
Every client asks. The rule we use, and it has held up across hundreds of bathrooms:
Pick one metal for plumbing on each fixture, and let the second metal show up only on hardware, lighting, or accessories. Never mix metals on a single faucet.
In this room the brass lives at the vanity zone (faucets, mirror sconce, towel ring) and the matte black lives at the shower and tub zone (shower trim, glass clips, robe hook, toilet flush plate). The two zones do not fight because they are physically separated and each one is internally consistent.
The hidden work
This is where the budget went, and where most "before and after" articles lie by omission.
We pulled the floor and found two sister joists that had been notched for the old plumbing in the 1970s. Structural engineer specified two new LVL sisters running the length of the room. Three days of work, and an unbudgeted cost we caught before signing.
The old cast-iron stack was original to the house. It looked sound from the outside. The plumber tapped it and we heard the dead thud of corrosion. Replaced 14 feet of stack from basement to attic with PVC, including the patch-up of the kitchen ceiling.
The exterior wall behind the tub had no insulation. None. We opened it, sprayed 4 inches of closed-cell foam, then a smart vapour barrier. The room now holds heat through a January night without the towel warmer running.
What drove the cost, scope by scope
People want to know where a heritage bathroom budget actually goes. Here is the scope, in rough order of weight:
- Demo, dump fees, and protection of adjacent rooms
- Structural sister joists, plumbing stack replacement, and insulation, the hidden heritage work
- Rough plumbing, electrical, and framing for the new layout
- Tile and stone, supply and install (floor, shower, niche)
- Custom vanity from our in-house cabinet shop, plus counter
- Plumbing fixtures: faucets, tub filler, shower trim, toilet
- Freestanding tub
- Custom glass shower enclosure in 3/8" low-iron
- Lighting, mirror, accessories, paint, and trim restoration
- Project management, permits, and contingency
No surprises mid-project, because we found the joist and stack issues during the planning phase by opening a small access hole before signing the fixed-price written proposal. In a 1908 house, the hidden structural and plumbing work is the biggest single cost driver, which is exactly why we price it before demolition starts.
What we would do differently
Two things, in hindsight.
The shower glass: we specified a fixed panel with no door, relying on the linear drain and a 36-inch depth to contain spray. It works, but the homeowners told us in February that a draft from the hallway cools the shower in winter. A pivot door would have solved it. Adding glass after the fact carries a small cost, and we are doing it this spring.
The brass tub filler is gorgeous, and it was also one of the pricier fixtures. A wall-mount filler from the same family costs noticeably less. The freestanding floor-mount filler is the kind of detail that photographs beautifully and cleans terribly. If you take baths every day, get the wall-mount and put the saved money into the tub itself.
The takeaway for your bathroom
Three things drove this project from "another reno" to a room the owners actually love.
First, we let one constraint (the plumbing stack) dictate the layout instead of fighting it. The budget paid for finishes, not relocated drains.
Second, we picked materials that read as expensive without being fragile. Porcelain that looks like limestone. Plywood-box cabinets that outlive particle board by 20 years. Glass that gets cleaned with vinegar.
Third, we did the hidden work properly. Joists, stack, insulation. Nobody sees it. The room only feels right because of it.
What surprised the owners
Two things, both small. First, the heated towel rack was their top-three favourite item in the room, and it was an inexpensive add. They had hesitated on it during selection. We installed it on a switched circuit so it heats only when the bathroom light is on. They use it every day.
Second, the linear drain at the threshold of the shower. They were nervous about the look ahead of install. By week three of using the bathroom they had stopped noticing it; by week eight they were telling friends it was the smartest decision in the whole project. The drain disappears visually, the water vanishes, and you never have to step over a curb at six in the morning.
If you have a heritage bathroom in the Glebe, Centretown, Sandy Hill, or Hintonburg, the bones of the house deserve a renovation that respects them. See our bathroom renovation service or call us at 613-862-4555 for a free in-home walkthrough.