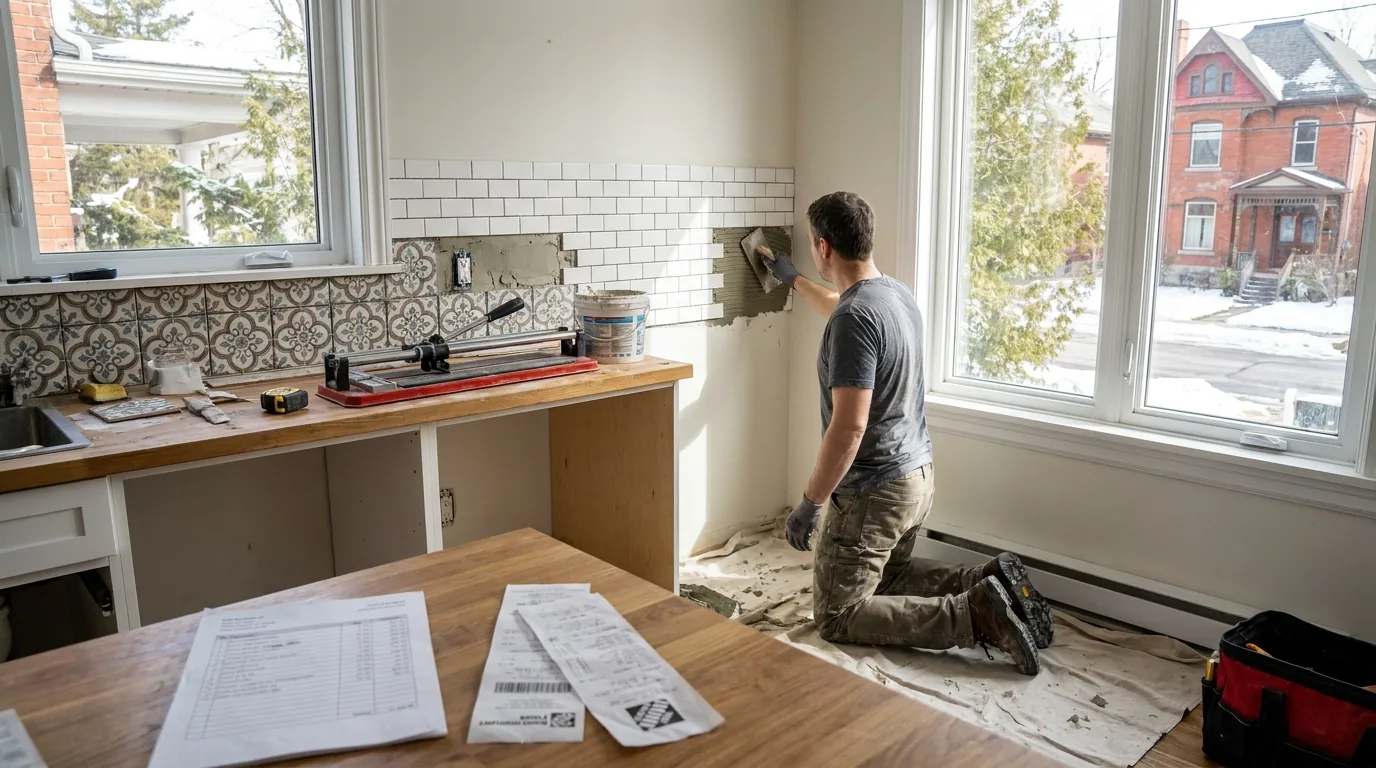
Backsplash is the DIY kitchen project I tell most homeowners is worth attempting. The materials are forgiving. The work is slow but methodical. The mistakes are usually fixable. And the labor savings are real: paying a tile installer for backsplash work is a meaningful line item on a 30-square-foot kitchen run, and that labour is the part you skip by doing it yourself.
Done yourself, the cost is mostly materials. Your time investment is one full weekend plus an evening for grout. The aesthetic outcome on a simple subway-tile installation is indistinguishable from a pro job if you take your time on layout and waterproofing.
The question is which kitchens are good DIY candidates and which ones aren't. Here's the honest breakdown.
What drives the material cost
For a typical Ottawa galley or L-shape kitchen with 25 to 35 square feet of backsplash area, these are the items on the list, ordered by how much they move the total:
- Tile selection — the single biggest driver: ceramic or porcelain subway is the most affordable, glass mosaic on mesh sheets costs more, marble and natural stone the most
- Thinset (modified, white): one bag covers a typical run
- Grout (unsanded for joints under 1/8 inch, sanded for wider)
- Spacers, trowel, sponge, bucket: a minor add if you don't already have them
- Wet saw rental for a day, or buy an inexpensive tile cutter
- Tile edging trim (Schluter Jolly profile)
- Caulk (matching grout color, mildew-resistant silicone)
Across the three tile tiers, the material cost climbs with the finish you pick, and a pro install adds labour on top of any of them. The catch: budget another 15 percent extra tile for cuts, breaks, and future repairs. Buy a few extra boxes from the same dye lot. Tile color shifts between batches and you do not want to be hunting matching tile when one chips three years later.
The mistake almost every DIYer makes behind the sink
The worst place water lives in a kitchen is the wall behind the sink. Soap scum, food, splash, and dripping pots all hit that 18-inch zone. Most DIY backsplash installs treat the wall behind the sink the same as the rest of the kitchen: thinset directly to drywall, tile, grout, done. Within five years the grout joints behind the sink are stained and the drywall behind the tile is starting to soften. The fix is to apply a liquid waterproofing membrane (RedGard, Hydro Ban, or AquaDefense) to the wall behind the sink before any tile goes on. Two coats, second one perpendicular to the first. Adds 30 minutes and the cost of one small pail to the job. Saves the wall.
Mosaic vs subway: the real difficulty difference
Subway tile is the most forgiving DIY backsplash material. The tiles are large (3x6, 4x8, 4x12), the layout is simple, the cuts are mostly straight, and the visual rhythm of a running-bond pattern is unforgiving of nothing.
Glass mosaic on mesh sheets looks easy because each "tile" is the size of a postage stamp and the sheets are 12x12 inches with 100 small tiles already spaced. What's hard about mosaic is keeping the seams between sheets invisible. The mesh backing on each sheet runs to the edge, but the spacing between mosaic squares within a sheet is fixed. When you butt two sheets together, you have to maintain that exact same spacing across the seam, or you'll see a slightly fatter or thinner grout line every 12 inches across the whole wall.
The fix on mosaic: use a tile leveler or buttering technique on every sheet seam, and check spacing with a tile spacer or a piece of cardboard cut to the right thickness. Every seam takes an extra minute. Skip this step and the seams telegraph through the finished wall like a grid pattern.
Marble and natural stone mosaic add another problem: the stone is porous and needs to be sealed before grouting. The grout (especially dark grout) will stain the stone face if you skip the sealer. Apply impregnating stone sealer with a foam brush before grouting, let it cure 4 hours, then grout.
Outlet boxes: the height problem
Existing kitchen outlets were installed at a fixed height, usually centered around 44 to 46 inches off the floor on standard layouts. The outlet boxes sit flush with the original drywall surface. When you add 1/4 to 3/8 inch of tile and thinset on top of the drywall, the outlet boxes are now recessed 1/4 to 3/8 inch behind the new finish surface.
Two consequences:
- The outlet cover plate doesn't sit flat against the tile. It rocks and there's a gap on every edge.
- The receptacle itself is now too far back inside the box to accept a plug fully. This is a code violation under the Ontario Electrical Safety Code (the receptacle face must be flush with or proud of the finished surface).
The fix: pull the receptacle out of the box, install a box extender (a plastic frame that sits between the box and the receptacle, also called a box extension or box collar), and re-mount the receptacle so its face sits at or slightly proud of the new tile surface. Box extenders are a couple of dollars each at any electrical supply. ESA inspectors look for this and will flag it on any inspection.
For a backsplash that's part of a fuller kitchen renovation, the electrician should reset all the outlet boxes flush with the future tile surface during the rough-in phase. For a DIY backsplash on an existing kitchen, box extenders are the right move and they're cheap.
Layout: where to start matters
Every backsplash has a focal point and a few invisible corners. The focal point is the wall behind the range or behind the sink, the part you see from across the room. The invisible corners are behind upper cabinets where the eye rarely lands.
The layout principle: start your tile pattern at the focal point, not at a corner. Run a vertical pencil line on the wall at the centre of the range or sink. Lay out tile dry on a counter from that line outward in both directions. Adjust until you get a clean visible run with the cuts ending at the corners (where they're less visible).
If you start tiling at a corner and just run across, you'll often end up with a sliver of cut tile (less than 2 inches wide) right behind the range, which looks awful. Starting from the focal point and centering means the slivers fall at the edges where nothing notices them.
For an L-shape kitchen, you have two visible runs. Start at the inside corner where they meet, and work outward in both directions. Cut pieces fall at the outer edges where they meet upper cabinets or appliances.
The grout step nobody enjoys
Grouting is the part that makes the wall look finished. It's also the part where most DIYers get tired and rush. The mistakes:
- Mixing too much grout at once. Sanded grout has a 30-minute working time. You'll grout half the wall, the bucket sets up, you scrap it and mix more. Mix in small batches.
- Wiping too soon. Grout needs to set 15 to 20 minutes before you wipe with a damp sponge. Wipe too soon and you pull grout out of the joints. Wipe too late and you can't get the haze off.
- Grouting the corner where the backsplash meets the countertop. That joint moves with the cabinets and counters expanding and contracting. Grout cracks. Use color-matched silicone caulk in that joint, not grout.
- Sealing the grout. Cement grout is porous. Apply grout sealer with a small brush along every joint after the grout has cured 72 hours. Skip this and the grout joints stain to permanent grey within a year.
The backsplash is judged by the grout. Take twice the time you think you need on grouting and you'll have a wall that still looks installed in five years.
When DIY backsplash is the wrong call
Skip DIY if any of the following apply:
- The wall behind the existing surface is in poor condition (water damage, soft drywall, old wallpaper that won't come off cleanly). The substrate has to be solid for tile to stick. Fix the wall first.
- The tile you've chosen is large-format porcelain (12x24 or larger). Large tiles require lippage control, perfect substrate flatness, and back-buttering on every tile. The skill curve is steep.
- The pattern is herringbone, chevron, or another complex layout requiring 45-degree cuts on every tile. Doable but adds 4x the time.
- The backsplash run is over 50 square feet or the kitchen is U-shape with multiple inside corners. The complexity scales fast.
For everything else, DIY backsplash is one of the highest-value home projects you can take on yourself. The result lasts 20+ years. The savings are real. And nobody but a tile installer will spot a slightly imperfect grout line.