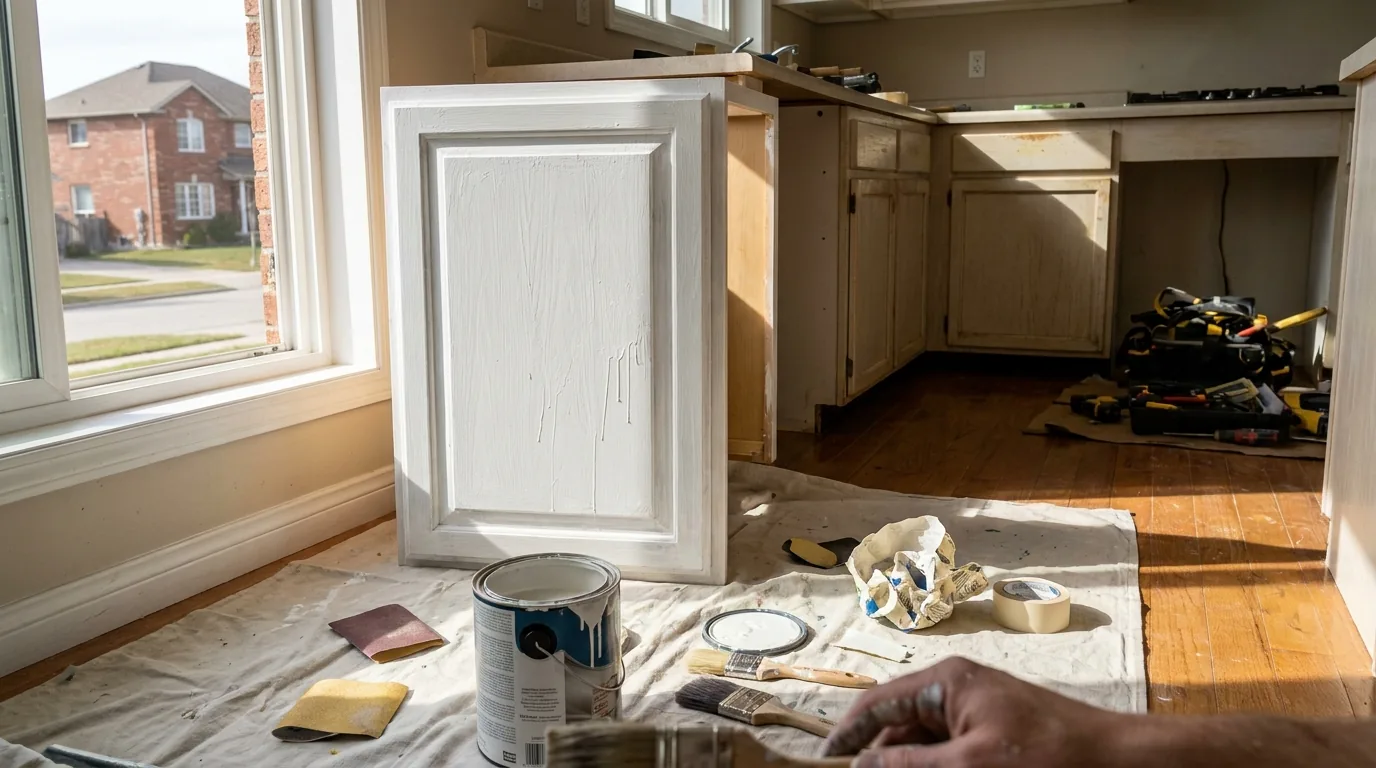
Painting your kitchen cabinets is the most over-promised renovation hack on the internet. Every blog says you can skip the cost of new cabinets by repainting your existing ones. The problem is that almost nobody does it the right way, and the result chips off the door edges within six months. Then you've got cabinets that look worse than when you started and a layer of failed paint that has to be stripped before any cabinet refinisher will touch them.
I have replaced more cabinet doors that were ruined by amateur paint jobs than I have replaced cabinet boxes. Here is why home-painted cabinets fail and what an actual cabinet finish involves.
The reason home paint chips off cabinets
Cabinet doors take more abuse than any other painted surface in a home. They get touched by hands a hundred times a day. They get hit with cooking grease and steam. They get bumped by pots, kids, and dishwasher doors. The corners and edges get the worst of it.
Wall paint is engineered for walls. Walls do not get touched. Walls do not see grease. Walls do not get knocked. Wall paint cures to a soft film that can take impact without cracking, but it does not hold up to abrasion or to grease.
The latex enamel paint sold for trim and cabinets at hardware stores (Benjamin Moore Advance, Sherwin Williams Emerald Urethane, Behr Alkyd Enamel) is a step better than wall paint. It cures harder. It can be brushed or rolled with reasonable results. But even these paints have two problems on cabinet doors:
- They do not bond well to factory cabinet finishes. Factory cabinet finishes are typically a UV-cured catalyzed lacquer or a conversion varnish. The surface is glassy and waxy. Latex paint does not key into it without serious surface preparation.
- They never reach the hardness of a real catalyzed cabinet finish. Cabinet doors need a finish that can be cleaned aggressively, that resists chemical attack from cooking residues, and that does not chip when struck. Latex enamels reach about 60% of that performance ceiling. Factory finishes reach 100%.
So even if you do everything right, a latex-enamel paint job on cabinets is going to look 80% as good as factory for the first year and then start to fail at the high-wear edges.
The real cabinet finishing process
This is what a professional cabinet refinisher in Ottawa actually does. Read this list before deciding to DIY.
1. Remove all doors and drawer fronts
Every door comes off. Every drawer front comes off. Hinges removed, holes labeled. The doors get finished flat in a controlled environment, not hanging on the boxes. Brushed or rolled cabinet finishes always look brushed or rolled. Sprayed cabinet finishes look like factory because they are sprayed.
2. Clean with a degreaser, then a solvent wipe
Cabinets in a kitchen carry a thin film of cooking grease. Even cabinets that look clean. The film is invisible but it kills paint adhesion.
The cleaning sequence is: TSP or Krud Kutter degreaser scrubbed with a Scotchbrite pad, rinsed twice with clean water, dried, then a solvent wipe with denatured alcohol or acetone to lift any residue the degreaser missed. Skip this and the paint peels off in sheets in 12 months.
3. Scuff sand the entire surface
Every flat, every edge, every recessed panel, every profile gets scuff-sanded with 220-grit. The goal is not to remove the existing finish. The goal is to mechanically key the surface so the primer has something to grip.
This step takes 2 to 4 hours per door if done properly. There is no shortcut. The recessed details have to be sanded with a sponge sanding block that gets into the corners. Skip a corner and that corner is where the new paint chips off first.
4. Vacuum and tack-cloth
Sanding dust kills primer adhesion. Every door gets vacuumed with a soft brush attachment, then wiped with a tack cloth that picks up the last 1% of dust.
5. Prime with a bonding primer
Not just any primer. The right primer for cabinets is a bonding primer (BIN shellac, Stix waterborne urethane, INSL-X Cabinet Coat primer). These are formulated to bond to glossy or pre-finished surfaces and to bridge between the old finish and the new topcoat.
Sprayed primer, two coats minimum, with a light sand between coats and after the final primer coat. Brushed primer leaves brush marks that telegraph through the topcoat.
6. Topcoat with sprayed conversion varnish or 2K urethane
This is the step that separates a real cabinet finish from a kitchen with a painted look that is going to fail. The topcoat options:
- Conversion varnish (M.L. Campbell Magnamax, Mohawk Duravar): a two-part catalyzed lacquer. Sprays beautifully, cures rock-hard, resists chemicals. The industry standard for cabinet shops. Solvent-based, requires a real respirator and a spray booth.
- 2K (two-component) urethane: like an automotive clear coat. Cures harder than conversion varnish. Even more chemical-resistant. Requires careful mixing of catalyst.
- Waterborne post-cat urethane (Renner WB, Milesi): the modern alternative. Catalyzed before spraying. Cures to almost the same hardness as solvent-based. Easier on the lungs, easier cleanup.
Each of these requires a real spray gun (HVLP setup at minimum), a spray booth or a heavily ventilated workspace, a respirator with organic vapour cartridges, and the practice to apply it without runs or orange peel.
7. Sand between coats, two to three coats total
Light sand with 320-grit between every coat. Final coat is left untouched and allowed to cure for 7 to 14 days before the doors go back on. Catalyzed finishes reach full hardness slowly.
The practical test of a cabinet finish
A properly finished cabinet door, after full cure, should resist a fingernail scratch on the edge. You can press a fingernail along the edge with reasonable force and not leave a mark. A latex-painted cabinet door fails this test the day the paint is dry and gets worse over time. The fingernail test is the difference between a cabinet finish and a paint job.
Why brushed or rolled cabinet paint always fails
Even people who buy the right paint and do most of the right prep usually go wrong on the application. The two failure modes:
Brush marks and roller texture
Cabinet doors are looked at very closely. The eye is 18 inches from the door when you stand at the counter. Every brush mark, every roller-stipple texture, every drop on a profile is visible. Sprayed finishes are smooth. Brushed and rolled finishes always read as "painted," not as "finished."
You can get closer to a sprayed look with a foam roller for the flats, a sash brush for the profiles, and Floetrol or BM Advance Extender added to the paint. Even with all of that, a careful homeowner gets to maybe 80% of a sprayed look. And only on the day of the paint job; in two years, the imperfections that did not show up on day one start to show.
Drying horizontal versus vertical
Doors should be finished flat. Hung on a rack, sprayed on the back first, then flipped after cure to spray the fronts. Painting them while still on the cabinet means gravity pulls the paint down and you get sags on every vertical edge. The sags don't always show on day one because they are tiny. After two years of cleaning, the sags get more visible because the high spots wear faster than the low spots.
What drives the cost of a real cabinet refinish
If you have decent boxes (solid wood or high-quality plywood) and the doors are real wood, refinishing is a viable alternative to replacement. What moves the price is mostly door count and finish detail:
- Door and drawer-front count — a small kitchen of 12 to 18 doors is the lightest scope; a large kitchen of 35+ doors is the heaviest
- Finish system — a sprayed catalyzed finish costs more than a basic coating but is what makes the result last
- Colour and prep — heavy grain fill, colour changes, and any glaze or distressing add labour
- Box condition — on-site finishing of the boxes adds to a job where only the doors come off
A typical refinish includes pickup of doors, finishing in a spray booth, return delivery, and on-site finish of the boxes. Standard turnaround is 2 to 3 weeks.
That sounds like a lot until you compare it to the cost of new cabinets, and against a DIY paint job that fails in 18 months. The way to compare fairly is a detailed written quote for each option so you can see what the price buys.
The painted-cabinet hack is real, but only if you spray it with the right product. Brushed cabinets are a renovation that ages backwards.
Our honest take
If your cabinets have good boxes and decent doors but the colour is wrong, refinishing them with a sprayed catalyzed finish is one of the best moves you can make in a kitchen renovation. It is sometimes worth more than new fronts on the same boxes.
If you cannot afford to hire a refinisher and you really want to paint them yourself, do this version: take the doors off, take them to a friend's garage, scuff sand, prime with Stix, and spray with INSL-X Cabinet Coat through a small HVLP gun rented by the day from Home Depot. That gets you to maybe 85% of a real refinish for the cost of materials and a long weekend. Brushing them in place gets you to 60% and the result lasts a year.
The summary: paint your walls. Paint your trim. If you really must paint your cabinets, spray them. Otherwise, leave them alone or pay somebody who has a spray booth.