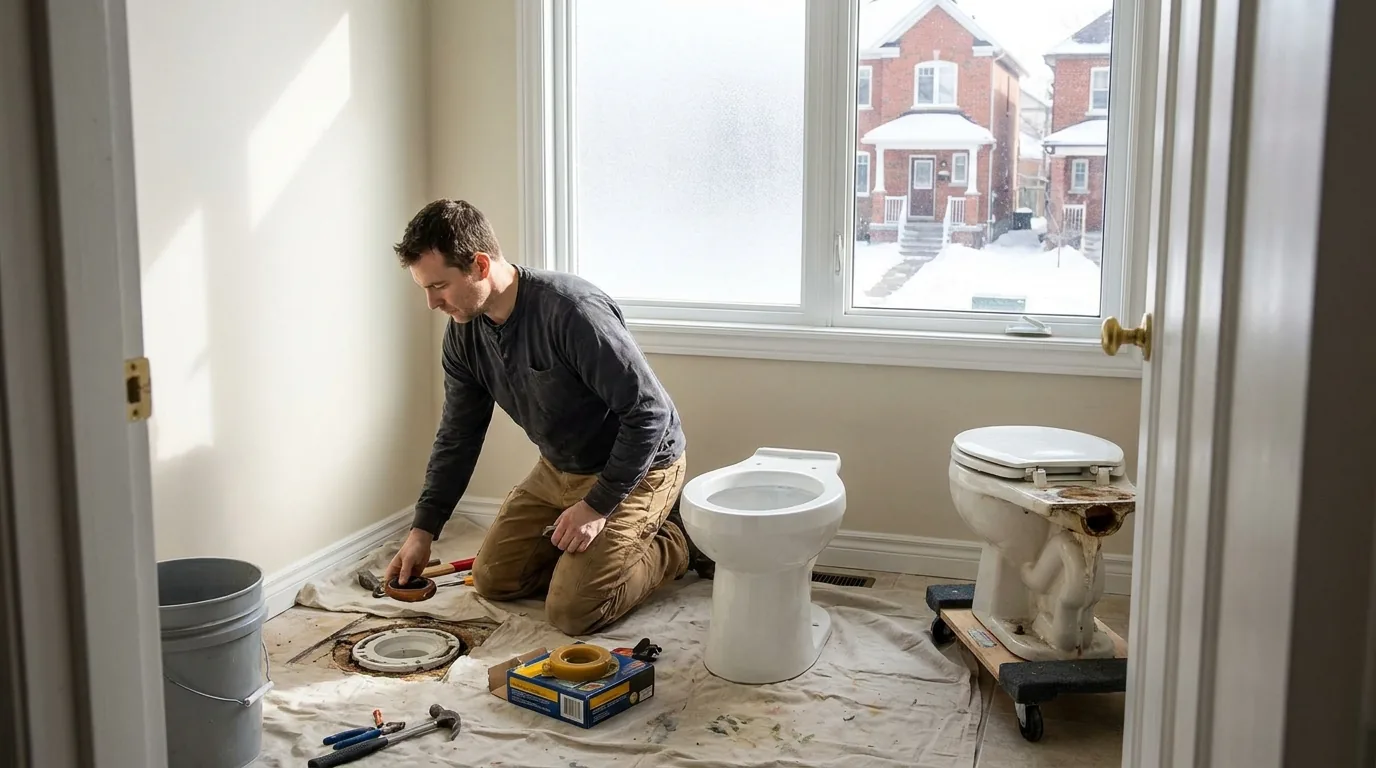
Toilet replacement looks like the easiest DIY plumbing job in any house. Two bolts, a water line, a wax ring, and you're done in an hour. The part nobody tells you is that a toilet has four separate seal points, any one of which leaks if you skip a step.
And toilet leaks are often slow leaks that show up six months later as a damaged subfloor or the ceiling stain in the room below.
Here's what an Ottawa plumber actually checks during a toilet swap, and the four leak points where DIY jobs fail.
Wax ring vs rubber gasket: the choice nobody explains
The seal between the bottom of the toilet and the flange in the floor is created by a sealing ring. There are two main types: traditional wax rings and modern rubber gaskets.
Wax ring. A donut of beeswax (sometimes with a polyethylene horn extending into the drain). The ring compresses when you set the toilet down on the flange, and the compressed wax fills any irregularities in the flange and the toilet base. The least expensive of the two options. The traditional and proven product.
The downside of wax: you only get one shot to set the toilet correctly. If you set it down, realize it's not aligned, and lift it back up to reposition, the wax ring is compressed and won't reseal. You have to remove the toilet, scrape off the old wax, and install a new ring. DIYers reposition once and the toilet leaks immediately.
Rubber gasket (Fluidmaster Better Than Wax, Korky Wax-Free, Sani Seal). A foam or rubber donut with adhesive that bonds to the flange. Reusable, repositionable, and works at temperature ranges where wax struggles. Costs a little more than a wax ring.
The downside of rubber: it requires a flange in good condition and a flat clean mating surface. If the flange is broken or rusted, rubber gaskets won't compensate the way wax can.
For a first-time DIY toilet install where you might need to set the toilet two or three times to align it correctly, the rubber gasket is the more forgiving choice. For a flange that's slightly damaged or non-standard, wax is the right call.
The double-ring mistake
If a homeowner thinks the gap between the toilet and flange "looks too big," they sometimes stack two wax rings on top of each other. This almost always fails. The two rings don't compress together properly. The lower ring's wax bleeds out sideways instead of sealing the flange.
The upper ring fills the inside of the toilet horn instead of compressing against the flange. Use a single thick wax ring (with horn) instead. If a single thick ring isn't enough, the flange height is wrong and that's a separate fix.
Flange height: level with the finished floor
The toilet flange is the metal or PVC ring that sits in the floor and connects to the drain pipe. The toilet bolts to the flange. The wax or rubber ring seals between the toilet and the flange.
The flange has to be level with or slightly above the finished floor. The standard:
- Flange flat on top of the finished floor: ideal. Wax ring or rubber gasket compresses cleanly.
- Flange 1/4 inch above the finished floor: still acceptable, slightly thicker compression of the seal.
- Flange below the finished floor: bad. The toilet horn sits above the flange, the wax ring has too much gap to fill, the seal fails.
- Flange more than 1/4 inch above the floor: also bad. The toilet doesn't sit flush on the floor, it rocks, the bolts can't pull it down without cracking the toilet base.
Why this matters now: in older Ottawa homes (pre-1990s), flanges were installed for the original flooring height. When new flooring goes in (laminate, hardwood, vinyl, tile), the floor is now 1/4 to 1 inch higher than it used to be, and the flange is now below the finished floor surface.
The fix: a flange extender (also called a flange spacer or extension ring). A 1/4 inch or 1/2 inch ring that bolts on top of the existing flange to bring it back up to the new floor height. An inexpensive hardware-store part. Stack two if needed (rare). After installing the extender, set the wax ring on the new top surface.
If the flange is broken (cracked, rusted, separated from the drain pipe), this is a flange replacement project, not a toilet swap. The flange has to be cut out and a new one installed, which usually involves opening the floor around the toilet drain. That's a plumber's job, not a DIY job.
Closet bolts torqued evenly
The toilet bolts (closet bolts, brass or stainless) thread up through the flange slots and into nuts on top of the toilet base. Tightening them pulls the toilet down onto the wax ring and seals it.
The mistake: cranking down hard on one bolt before evenly tightening the other. The toilet tilts, the wax ring compresses unevenly, and either the seal fails on one side or the toilet base cracks under the uneven load.
The right way:
- Set the toilet onto the wax ring with both bolts protruding through the holes in the toilet base.
- Sit on the toilet (or press down with body weight) to compress the wax ring evenly.
- Hand-thread both nuts onto the bolts until they're snug against the toilet base.
- Use a wrench to tighten the nuts in alternating quarter-turns: left bolt 1/4 turn, right bolt 1/4 turn, left 1/4 turn, right 1/4 turn.
- Stop when the toilet stops moving against the floor and the bolts feel firm. Do NOT keep tightening past that point.
- Cap the bolts with the plastic covers provided.
The toilet should not rock at all when finished. If it rocks, you can shim under the base with composite plastic shims (not wood shims, which rot when wet) and re-test. Add silicone caulk around the perimeter of the toilet base on the front and sides, leaving the back open so any future leak is visible (a hidden leak under a fully caulked toilet rots subfloor for months before showing).
Replace the water shutoff while you have access
The angle stop on the wall behind the toilet (the small valve that turns water on and off to the toilet) is usually the original valve from when the bathroom was built. It might be 25 or 40 years old. The packing inside has hardened. The next time you need to shut the water off (an emergency, a future swap, an annual maintenance check), the valve might fail to close.
While the toilet is off, replace the angle stop with a quarter-turn ball valve. The valve is a low-cost part. Compression-fit installation takes 15 minutes and a basin wrench. The peace of mind is worth the time.
The new ball valve closes positively with a 90-degree handle turn instead of multiple turns of a packing-style valve. It will still close in 30 years when somebody else is doing the next toilet swap.
While you're at it, replace the supply line (the braided stainless or vinyl tube between the angle stop and the toilet tank). Another inexpensive part. Old supply lines fail with age and will burst, which is one of the main causes of bathroom flooding in older Ottawa homes.
The 4 leak points to test before you walk away
Before declaring the job done, test all four leak points. Two are obvious. Two get missed.
- Wax ring seal at the floor. After flushing 3-4 times, check around the base of the toilet for water seeping out. A new wax ring shouldn't leak immediately, but a slow weep can show up over the first 48 hours.
- Tank-to-bowl gasket. The seal between the tank and the bowl. New toilets come with this assembled but the bolts can loosen during shipping. Tighten the tank-to-bowl bolts evenly (alternating). Look for water on the bowl below the tank after flushing.
- Supply line connection at the angle stop. The compression connection at the wall valve. If it weeps, hand-tighten 1/8 of a turn more. Don't over-tighten.
- Supply line connection at the tank fill valve. The plastic nut at the bottom of the tank where the supply line connects. Easy to miss because it's tucked under the tank. Run a paper towel around the connection after the tank fills. Any moisture means it needs another snug.
Run the toilet through 5 to 10 flushes and check all four points. Then check again 24 hours later. A slow seep at any of the four points becomes a damaged subfloor or ceiling stain over months.
A toilet that leaks at the wax ring shows up as a brown stain on the ceiling below six months from now. A toilet that's installed right will sit silent for 25 years.
When to bring in a plumber
For a like-for-like toilet swap in a single-floor bathroom (so any leak shows up on a floor you can see), DIY is reasonable for a careful homeowner. Plan 90 minutes including cleanup.
For a toilet replacement on a second floor or above a finished space, the cost of a slow leak going undetected is high (ceiling damage, joist damage, full bathroom rebuild downstairs). A plumber charges a modest flat rate for the same job and they own the work. For a second-floor bathroom, the math usually favors the plumber.
For any project that involves moving the toilet location, replacing the flange, or changing from a 12-inch rough-in to a 10-inch or 14-inch rough-in, this is plumber work. Toilet rough-in changes are part of fuller bathroom renovation scopes and shouldn't be DIY.
Frequently asked questions
Should I use a wax ring or a rubber gasket for a toilet?
A rubber gasket, such as Fluidmaster Better Than Wax, suits a first-time install because the toilet can be lifted and repositioned if it takes two or three tries to align. A wax ring gives one shot: lift the toilet after compressing the wax and the ring will not reseal.
Wax is the better call on a slightly damaged or non-standard flange, because rubber needs a sound flange and a flat, clean mating surface.
How high should a toilet flange sit relative to the floor?
A toilet flange should sit flat on top of the finished floor, or up to 1/4 inch above it. A flange below the finished floor leaves the seal too much gap to fill, and one more than 1/4 inch above makes the toilet rock.
New flooring in pre-1990s homes often raises the floor 1/4 to 1 inch, and a 1/4 or 1/2 inch flange extender bolted on top restores the height.
Can I stack two wax rings under a toilet?
No. Two stacked wax rings almost always fail: they do not compress together, the lower ring bleeds out sideways instead of sealing the flange, and the upper ring fills the toilet horn. Use a single thick wax ring with a horn instead. If one thick ring still does not close the gap, the flange height is wrong, and that needs its own fix, usually a flange extender.
How do you tighten toilet bolts without cracking the base?
Press down on the toilet to compress the seal evenly, hand-thread both nuts snug, then tighten with a wrench in alternating quarter-turns, left then right. Stop once the toilet stops moving against the floor and the bolts feel firm. Cranking one bolt first tilts the toilet, compresses the seal unevenly, and can crack the base. Shim any rocking with composite plastic shims, never wood.
Which leak points should I check after installing a toilet?
Four points need checking: the wax ring seal at the floor, the tank-to-bowl gasket, the supply connection at the angle stop, and the supply connection at the tank fill valve, which is easy to miss under the tank. Run the toilet through 5 to 10 flushes, check all four, then check again 24 hours later. A slow seep at any point becomes subfloor damage or a ceiling stain over months.