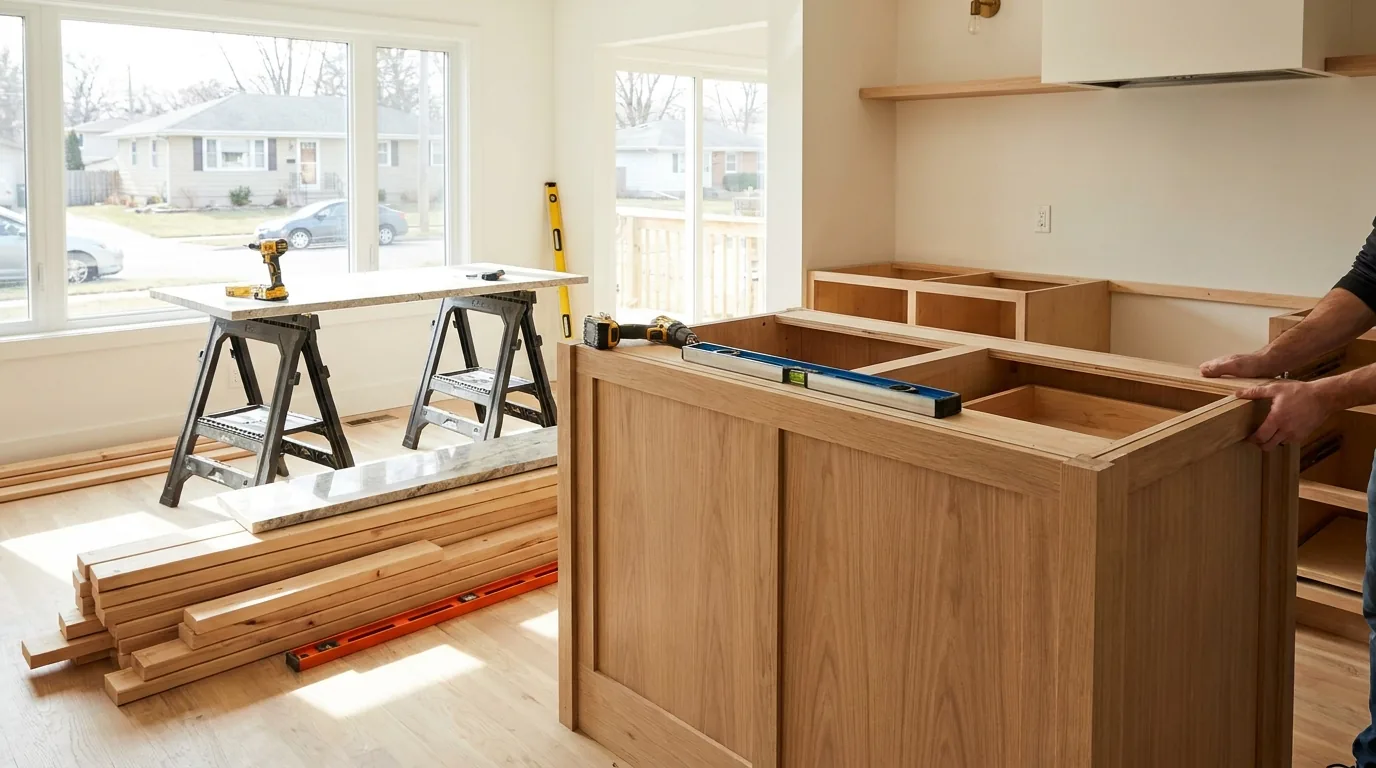
The DIY kitchen island looks easy on Instagram. Build a base. Set the cabinets. Drop a counter on top. Two days, one weekend, done.
What the photos don't show is the electrical receptacle in the floor that wasn't there before, the dishwasher rough-in that has to be cut into the slab, the dust the cabinet shop sent home unsealed, and the half-inch the floor sloped that nobody noticed until the dishwasher was loaded.
Here are five things to know before you start, in the order you'll hit them.
1. Code requires receptacles in the island. The electrical is not optional.
Ontario Electrical Code 26-712 requires that any kitchen island with a useable surface 600 mm wide or longer must have at least one receptacle. For most islands over 1200 mm the answer is two. The receptacles must be served by a 20-amp small-appliance branch circuit, GFCI-protected, and at most 1 m apart along the working edge.
What this means for DIY: you cannot just plunk a cabinet box on the floor. You have to:
- Run a new 12/2 circuit from the panel to a junction in the basement below the island location
- Drill up through the subfloor at the right spot
- Land the cable inside the cabinet base
- Wire the receptacle (in a face-mount box on the side of the island, not the top, per code)
- Have the work permitted with the Electrical Safety Authority (ESA) and inspected before the cabinet goes over the wires
Ontario law also says only the homeowner residing in the house, or a licensed electrical contractor, can do that wiring. A friend who does electrical for a living cannot legally do it for you. The ESA charges a permit fee that scales with circuit count, plus an inspection fee. Without the ESA permit, your home insurance can deny a claim if a fire ever traces back to the island circuit.
2. Plumbing in an island is a different world from plumbing on a wall
If your island will have a sink or a dishwasher, the plumbing is the part that quietly destroys DIY budgets. A wall-mounted kitchen sink has the supply lines and the drain in the wall behind it. An island sink has nothing behind it. The plumbing has to come up through the floor.
Two things make island plumbing harder than wall plumbing:
The drain needs an air admittance valve or a vent loop. Drains require venting to prevent the trap from siphoning dry. A wall sink vents up through the wall and into the roof. An island sink can't run a vent into the wall, because there is no wall.
The two solutions: an air admittance valve (AAV, a one-way mechanical vent that fits inside the cabinet, code-acceptable in Ontario per OBC §7.5.5), or a "loop vent" that runs up over the cabinet inside the structure and back down to a wall vent. The AAV is the homeowner's friend: inexpensive, sold at any plumbing supply, easy install.
The supply lines come up through the floor. If your kitchen sits over a finished basement, that means cutting two access holes in the basement ceiling drywall, running the cold and hot supply, then patching. If the basement is unfinished, the run is easy. Plan accordingly.
Safety warning: never put a gas line in an island unless you're confident
If your island includes a gas cooktop, the line is a TSSA-permitted gas connection. In Ontario, only TSSA-licensed gas fitters can install or modify residential gas piping. There is no homeowner exemption for gas like there is for electrical. A leak in an island gas line ruins everyone's day in a way no other DIY mistake matches.
Hire a TSSA-licensed gas fitter for the connection. The visible portion (cooktop hookup) takes them about an hour, plus the TSSA permit. Worth every dollar.
3. Anchoring the island matters more than you think
An unanchored island moves. Not dramatically, but enough that the dishwasher rocks when it's loaded, the toe-kick separates from the floor, and the counter joint at the seam (if there is one) opens up over time.
The four-step anchor process for a typical island over a wood subfloor:
- Lay out the island footprint on the floor. Snap chalk lines for the cabinet base perimeter.
- Screw 2x4 cleats to the subfloor along the inside edge of the cabinet base, hitting joists below where possible.
- Set the cabinet base over the cleats. The cleats are now inside the cabinet base, hidden by the toe-kick.
- Screw the cabinet base into the cleats from inside the cabinet, every 16 inches.
For a slab floor (typical in Ottawa basements with a kitchenette), the cleats get fastened with 1/4" Tapcons or wedge anchors, drilled with a hammer drill into the slab.
What goes wrong: DIYers skip the cleats and screw the cabinet down through the toe-kick into the subfloor. The toe-kick is too thin to hold a long screw without splitting. The anchor fails the first time someone leans on the counter.
4. Levelling matters, and Ottawa floors are rarely level
Old Ottawa houses settle. New Ottawa houses settle too, just less. Almost no kitchen floor in this city is dead level. A 1/4 inch slope across 8 feet is normal. A 1/2 inch slope is not unusual in a 1950s bungalow.
The island has to sit level even when the floor isn't. The standard install procedure: set the cabinet base, then shim under the toe-kick at every contact point until a 4-foot level reads true in both directions.
Some details that catch first-timers:
- Cabinet bases come with adjustable feet (legs that screw up and down 1 to 2 inches). Use them. Don't shim under a base if the feet can do the work.
- Level in both directions before you fasten anything. Front to back AND side to side. The cabinet that's level front-to-back but rocking side-to-side fails the dishwasher test.
- The counter top sets the final level. If the cabinet is shimmed to within 1/16 inch of level, the stone counter installer will fine-tune with construction adhesive when they set the top.
5. The countertop is the part DIYers shouldn't try
You can build the cabinet base. You can run the wires (if you have an ESA permit and you're the homeowner). You can plumb the sink with an AAV.
What you should not DIY: the stone countertop. Quartz, granite, and marble counters require a professional fabricator with a CNC waterjet, vacuum lifters, and the experience to seam two slabs without a visible joint. The stone slab, the fabrication, and the install together are the single largest line on an island, and the price depends on the material you choose, the slab size, edge profile, and cut-outs.
This is the part of the project where a written quote from a fabricator is worth getting before you commit.
The DIY countertop options that actually work for an island:
- Solid wood butcher block. A 6 to 8 foot piece, finishable with mineral oil or marine varnish. The most affordable real-material option. Real wood, real character, DIY-installable with a 1/4" round-over router bit and patience. Holds up well over decades if maintained.
- Laminate (Formica, Wilsonart). The lowest-cost option. Comes in slabs that you cut to fit. Edge with a router and a flush-trim bit. Lower-end aesthetic but bombproof and replaceable.
- Concrete. A weekend project for the right person, a disaster for the wrong one. Worth it only if you have a friend who has done one before.
The cabinet you can build. The wiring you can do once, with a permit. The countertop is where DIY ends and a professional fabricator starts saving you from expensive mistakes.
What drives the cost of an island
An honest DIY island installation on an existing kitchen floor assumes a stock cabinet base, butcher block top, undermount sink, and one new circuit. The line items that move the budget, in rough order of impact:
- Cabinet base — stock or RTA is cheapest; custom or semi-custom costs more and takes longer
- Countertop material — butcher block and laminate are entry-level; quartz, granite, and marble carry fabrication and install on top
- Plumbing — sink, faucet, AAV, and a drain run; cost rises sharply if supply lines must be fished through a finished basement ceiling
- Electrical — materials are minor; the ESA permit and inspection are the larger consideration, and a licensed contractor adds labour
- Anchoring and levelling — lumber for cleats and shims, fasteners, finishing; minor in dollars, major in outcome
The same install through a contractor with custom in-house cabinetry, a quartz top, professional plumbing and electrical, and a 1-year warranty costs more than the DIY route — the gap is the labour, the warranty, and the finish level. Whether that gap is worth it depends on your skill, your tools, and how much your time is worth.
For a project of any size, ask for a detailed written breakdown so you can see exactly what each line buys.
For a full kitchen renovation where the island is part of a bigger redesign, see our kitchen renovation Ottawa page. Our in-house cabinet shop builds the base, the perimeter cabinets, and the panel-ready dishwasher fronts as one matched set.
Frequently asked questions
Does a kitchen island need an electrical outlet in Ontario?
A kitchen island in Ontario needs at least one receptacle when its usable surface is 600 mm wide or longer, under Ontario Electrical Code rule 26-712, and most islands over 1200 mm need two. The receptacles must be on a 20-amp small-appliance branch circuit, GFCI-protected, at most 1 m apart along the working edge, and mounted on the side of the island rather than the top.
How is an island sink vented without a wall?
An island sink is vented with either an air admittance valve or a loop vent, since there is no wall to carry a vent up to the roof. An air admittance valve is a one-way mechanical vent that fits inside the cabinet and is code-acceptable in Ontario.
A loop vent runs up over the cabinet inside the structure and back down to a wall vent. Supply lines come up through the floor.
Can I install a gas line to my island cooktop myself?
A gas line to an island cooktop cannot be a DIY job in Ontario. Only TSSA-licensed gas fitters can install or modify residential gas piping, and unlike electrical work there is no homeowner exemption. The connection also needs a TSSA permit. The visible cooktop hookup takes a licensed fitter about an hour, and a leak in an island gas line is worse than any other DIY mistake.
How do I anchor a kitchen island to the floor?
Anchor a kitchen island by snapping chalk lines for the base footprint, then screwing 2x4 cleats to the subfloor along the inside edge, hitting joists where possible. Set the cabinet base over the cleats and screw it to them from inside every 16 inches. On a concrete slab, fasten the cleats with 1/4 inch Tapcons or wedge anchors. Screwing through the thin toe-kick splits it and fails.
Which island countertops can a DIYer install?
The island countertops a DIYer can install are solid wood butcher block, laminate such as Formica or Wilsonart, and, for someone with prior experience, cast concrete. Butcher block in a 6 to 8 foot piece is finished with mineral oil or marine varnish and eased with a 1/4 inch round-over bit. Quartz, granite and marble need a professional fabricator with a CNC waterjet, vacuum lifters and seaming experience.