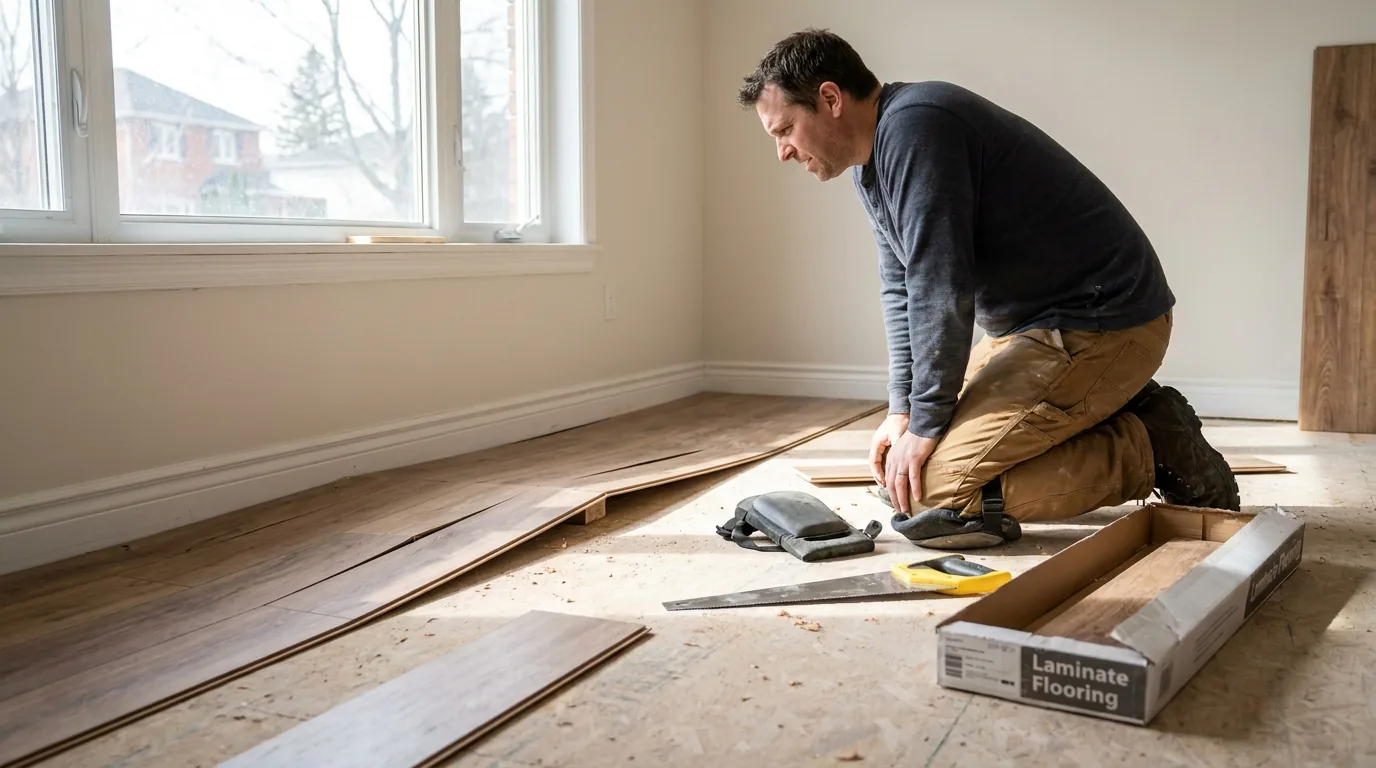
Laminate is the most DIY-friendly flooring product on the market. The boards click together. No nails. No glue (in most products). No specialty saw needed. Anyone with a circular saw and a tape measure can finish a room in a weekend.
What makes it deceptively easy is also what trips up first-timers. The product is forgiving, but six common mistakes still show up in DIY laminate jobs across Ottawa, and any one of them can leave you with a floor that creaks, gaps, or buckles within two years.
Here are the six.
1. Skipping the underlayment (or using the wrong one)
Laminate sits over a thin foam or felt underlayment. The underlayment does three things: it cushions the click joints from minor subfloor irregularities, it dampens sound transmission to the room below, and it provides a moisture barrier when installed over concrete.
The mistakes:
- Skipping it entirely because the laminate has a thin foam pre-attached. The pre-attached pad on the bottom of premium laminate is enough for moisture and minor cushioning, but adding a separate underlayment over it doubles up the cushion and causes the click joints to flex. Either use pre-attached foam alone OR a separate underlayment. Don't double them up.
- Using the wrong product over concrete. A basement slab needs an underlayment with a built-in vapour barrier (typically a foam sheet with poly bonded to one side). Standard foam underlayment is not enough. Concrete passes water vapour upward, and over time, vapour-permeable underlayment lets moisture into the laminate substrate, which causes swelling and edge cupping.
- Overlapping seams the wrong way. Underlayment seams should butt edge-to-edge with tape, not overlap. Overlapping creates a ridge that telegraphs through the laminate and shows as a high spot.
For Ottawa basement installations especially, use a 6 mil poly vapour barrier under a foam underlayment, OR a combination underlayment product rated for concrete subfloors.
2. Forgetting the expansion gap
Laminate is wood-based. It expands and contracts with humidity. Like hardwood, it needs an expansion gap around the entire perimeter to allow that movement.
The standard: 1/4 to 3/8 inch (6 to 10 mm) gap on every wall, around posts, around the toilet flange, and at every transition to another flooring type. Spacers (small plastic wedges sold with the laminate or improvised from cut-off pieces) maintain the gap during installation. The gap gets covered by baseboard or quarter-round trim.
What goes wrong: DIYers butt the laminate tight to the wall to "make it look better." The laminate has nowhere to expand. In summer, when humidity rises and the boards swell, the entire field pushes against the walls. The click joints buckle upward (called "tenting") in the middle of the room or the boards push the baseboards off the wall.
For runs longer than 25 feet in any direction, you need an intermediate expansion break, usually a T-molding at a doorway. A single uninterrupted run of laminate that long generates more expansion force than the perimeter gap can absorb.
The acclimation step DIYers skip
Laminate boxes need to sit in the room where they'll be installed for at least 48 hours before the install starts. The boards adjust to the room's humidity. Boards installed straight from a cold garage in winter, into a 21°C heated house, will expand significantly in the first week and buckle even with a proper expansion gap.
Open the boxes (don't unstack the boards), let them sit 2 days minimum, and run the HVAC at normal occupied conditions during the acclimation period.
3. Wrong stagger pattern
Stagger refers to how the end joints of adjacent rows offset from each other. Done right, the joints scatter randomly across the field. Done wrong, you get repeating patterns or "H-joints" where two parallel joints land in adjacent rows.
The rules:
- Adjacent rows should offset their end joints by at least 12 inches (30 cm), ideally 18 inches.
- No "H-joint" (parallel end joints in two rows that line up at the same point or within a few inches).
- No repeating step pattern (a staircase look where joints offset by the same amount in every row).
The way to achieve this: pull from at least three open boxes at once, mix board lengths intentionally, and dry-lay 2 to 3 rows ahead of where you're locking down.
The DIY shortcut that fails: starting each row with the cut-off piece from the previous row (e.g., cut a 30-inch piece off the end of row 1, use it to start row 2). This produces a regular step pattern that the eye reads as wrong even if it can't say why.
The right approach: vary the start length deliberately. Row 1 starts with a full board. Row 2 starts with a 32-inch piece. Row 3 starts with a 12-inch piece. Row 4 starts with a 24-inch piece. Mix widely, end joints scatter, the field looks natural.
4. Tapping with a hammer instead of a rubber mallet
Click-lock laminate joints close by tapping the new board into the previous board. The taps need to be controlled, distributed, and gentle. A claw hammer tapping directly on the laminate edge will crack or splinter the click profile.
The right tools:
- Rubber mallet (white, no-mar) for tapping along the long edge of new boards.
- Tapping block (sold with the laminate or as a separate kit) to spread the impact across multiple inches of the click joint, not concentrate it on one point.
- Pull bar for the last row against a wall, where the rubber mallet can't reach.
Place the tapping block against the joint, strike the block with the mallet, work down the length of the board. Two or three taps per foot. Never strike the laminate directly with a hammer. Even one mis-strike will damage the click profile and that joint won't close properly.
For the last row, where the wall is in the way of the mallet, the pull bar hooks over the far edge of the board and you tap the bar with the mallet to pull the new board tight against the previous row.
5. Starting the run in the wrong direction
Two questions decide where you start: which direction does the laminate run, and where does the first board go?
Direction: laminate looks best running parallel to the longest wall, or parallel to the dominant light source (a window that lights the room). Cross-direction runs (laminate perpendicular to the room's length) make small rooms look smaller and emphasize joints.
Starting point: start at the wall facing the door (the wall opposite the room's main entrance). Why: the first row is the only row you can't shift sideways once it's locked down. If you start at the door wall and the room is out of square, the cut row at the far wall is hidden under furniture or at the back of the room.
If you start at the back wall and have to cut the front row, the cut row is the first thing you see when you walk in.
Also: the first row should be flush against the wall but with the expansion gap maintained by spacers. If the wall is wavy (common in older Ottawa homes), scribe and cut the first row to match the wall profile. The first row sets the line for everything else; if it's crooked, the whole field reads as crooked.
6. Doorway transitions done wrong
Doorways are where two flooring types meet. The transition handles three things: it covers the expansion gap, it bridges any height difference between the two floors, and it provides a clean visual edge.
The four transition types:
- T-molding. For laminate-to-laminate or laminate-to-hardwood at the same height. Both floors stop at the doorway with their expansion gaps, and the T-molding bridges the gap.
- Reducer. For laminate-to-vinyl, laminate-to-tile (slightly lower), or any case where the laminate is higher than the adjacent floor. The reducer slopes from the laminate edge down to the lower surface.
- Threshold. For laminate-to-tile at the same height, or any doorway where you want a more substantial divider.
- End cap. For laminate ending at a wall or against carpet. Covers the expansion gap and gives a clean edge.
The mistakes: cutting the laminate flush to the doorway with no expansion gap, using a transition that doesn't match the height difference (so the laminate edge sticks up and gets kicked), or installing the transition before the laminate has a chance to acclimate.
The transition track (the metal channel that holds the transition piece) needs to be installed BEFORE the laminate goes down, because the laminate's tongue or groove side has to slide into the track. If you install the laminate first and try to add the transition track after, the track sits proud of the floor and the transition looks wrong.
Laminate is the easiest flooring to install and the easiest to install incorrectly. Six small details decide whether the floor lasts ten years or buckles in two summers.
The honest DIY laminate call
For a single bedroom or a basement rec room, DIY laminate is one of the highest-value home projects you can take on. A 200 sq ft installation is mostly the cost of the planks and underlayment, plus 6 to 10 hours of work for a careful first-timer.
The same job from a professional flooring crew costs more once labour and a workmanship guarantee are added — that gap is what you keep by doing it yourself.
For a whole-floor installation (kitchen, hallway, dining room, living room all flowing together), DIY gets harder. The transitions between rooms multiply, the expansion gap math becomes important, and the layout decisions affect every cut. This is where many DIY laminate jobs go from "looks great" to "what happened in that doorway."
For most Ottawa basement renovation projects, laminate or luxury vinyl plank are the right product for the floor: forgiving over imperfect concrete subfloors, water-resistant, and DIY-friendly if the underlayment, expansion gap, and starting direction are right. Take the extra hour to get the first row perfect and the whole field falls into place.
Frequently asked questions
What underlayment should go under laminate on a basement slab?
Laminate on a basement concrete slab needs an underlayment with a built-in vapour barrier, or a 6 mil poly vapour barrier under a foam underlayment, because concrete passes water vapour upward and swells the laminate edges. Butt underlayment seams edge to edge with tape rather than overlapping them. Do not add a separate underlayment under laminate that already has pre-attached foam, since the doubled cushion flexes the click joints.
How big should the expansion gap be for laminate flooring?
Laminate flooring needs a 1/4 to 3/8 inch (6 to 10 mm) expansion gap on every wall, around posts and the toilet flange, and at every transition to another floor. Plastic spacers hold the gap during installation, and baseboard or quarter-round covers it. Runs longer than 25 feet need an intermediate T-molding break. Butting boards tight to the wall causes tenting when summer humidity swells the boards.
How long should laminate acclimate before installing?
Laminate should sit in the room where it will be installed for at least 48 hours before installation, with the boxes opened but the boards left stacked and the HVAC running at normal occupied conditions. Boards brought straight from a cold winter garage into a 21°C house expand significantly in the first week and can buckle even with a proper expansion gap around the room.
How far apart should laminate end joints be staggered?
Laminate end joints in adjacent rows should be offset by at least 12 inches (30 cm), ideally 18 inches, with no H-joints and no repeating staircase pattern. Pull boards from at least three open boxes, mix lengths, and dry-lay 2 to 3 rows ahead. Vary the starting length of each row deliberately rather than starting every row with the cut-off piece from the row before.
Which wall should I start laying laminate from?
Start laying laminate at the wall facing the door, the wall opposite the main entrance, so any cut row at the far wall ends up hidden rather than being the first thing seen on entering. Run the boards parallel to the longest wall or to the main window light.
Keep the expansion gap with spacers, and scribe the first row to match a wavy wall, since it sets the line for everything.