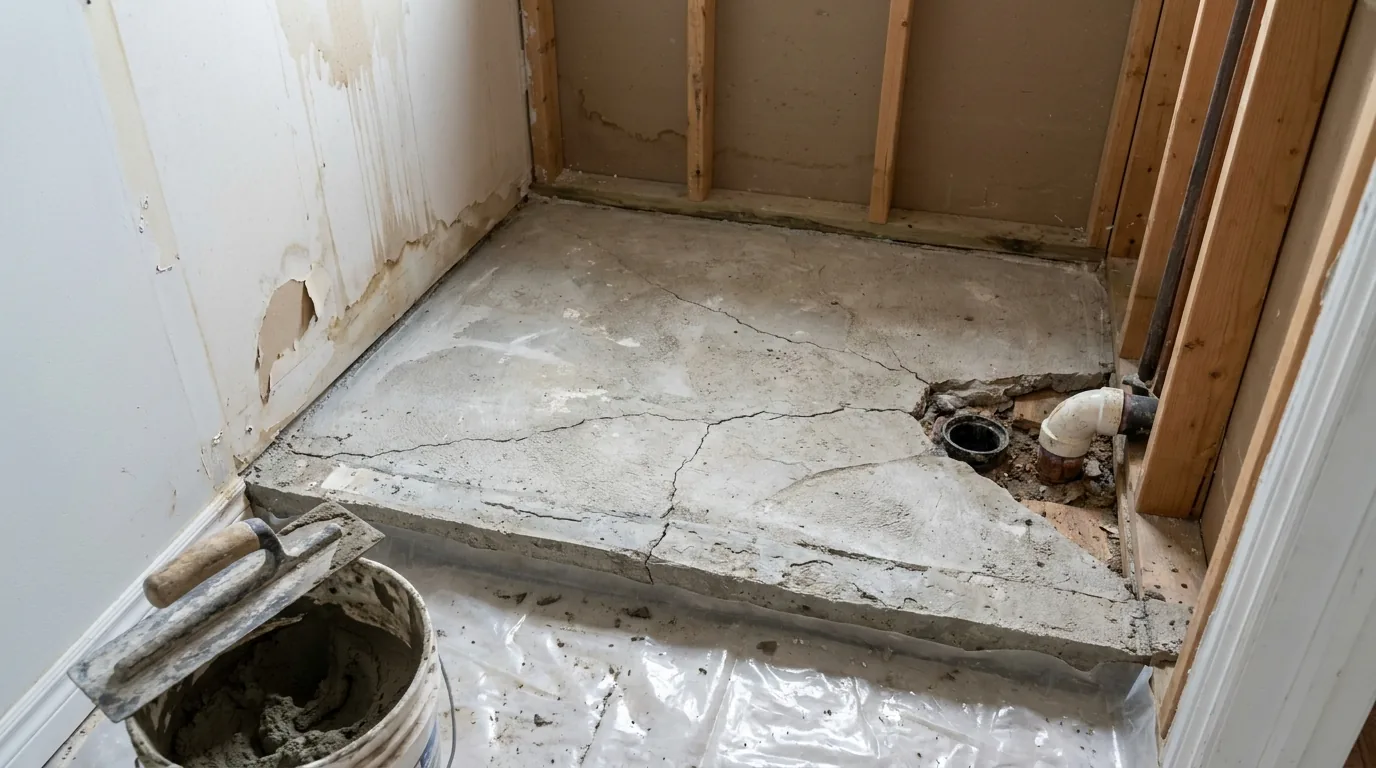
Every contractor in Ottawa has a list of jobs that pay the bills. At the top of mine: tearing out shower pans built by homeowners and previous contractors who skipped the part of the assembly that nobody can see.
The shower pan is the most failure-prone single assembly in a residential bathroom. It has to be waterproof. It has to drain. It has to do both for thirty years. And the part that determines whether it succeeds is the part nobody photographs because it's covered up before the tile goes on.
Here is what a real shower pan looks like, why pre-slope is the step that gets skipped, and what happens when it fails.
The traditional mortar-bed shower pan, top to bottom
For decades, the right way to build a custom tile shower pan was a layered mortar-bed assembly. The new sheet-membrane systems (Schluter, Wedi, Hydro Ban) have replaced this on most jobs we do, but understanding the layers is the only way to understand why DIY pans fail.
From the subfloor up:
- Pre-slope mortar bed. A wedge-shaped layer of dry-pack mortar sloped at 1/4 inch per foot toward the drain. Thickest at the perimeter, thinnest at the drain. About 1.5 inches thick at the wall, 0.5 inch at the drain.
- PVC or CPE liner. A thick rubber-like sheet that drapes over the pre-slope, runs up the walls 6 inches minimum, gets folded into the corners, and is sealed to the drain's clamping ring with the bolts torqued evenly.
- Top mortar bed. Another layer of dry-pack mortar over the liner, also sloped 1/4 inch per foot toward the drain. This is the layer the tile sits on.
- Tile and grout. Set in thinset over the top mortar bed.
The pre-slope sits on the subfloor and slopes to the drain. The liner sits on the pre-slope, also pitched to the drain. The top bed sits on the liner. Water that gets through the grout (and water always does, eventually) runs through the top bed, hits the liner, runs down the liner pitch to the drain, and exits through the weep holes in the drain's clamping ring.
Why pre-slope is the #1 missed step
This is the failure I see in every single DIY pan tear-out. The homeowner watched a YouTube video, set the liner directly on a flat subfloor, and built up the top mortar bed with the slope.
The top of the assembly is sloped to the drain. Looks correct. Tile goes on. The shower works. Day one looks fine.
What's wrong: the liner is flat. There is no pre-slope underneath it. So when water gets through the grout (and over a 5-year window, water always penetrates the grout joints, especially in the corners), the water runs through the top mortar bed, hits the flat liner, and just sits there. The liner becomes a swimming pool.
Mortar holds water like a sponge. The mortar bed never dries out. Mold grows in the bed. The liner stays wet against the subfloor. The subfloor rots. The smell starts. The tile starts moving. By year three or four, somebody notices the bathroom smells weird and the floor outside the shower has a dark spot.
Tear-out reveals: the entire mortar bed is black, the subfloor below the liner is rotted, the joists are showing rot, and the bathroom needs a full demolition and structural repair. We've done this job a dozen times in Ottawa basements.
Why the pre-slope is invisible on YouTube
A lot of online tutorials skip the pre-slope step because it's the hardest part to film and the easiest part to fudge. The video shows a flat subfloor, then jumps to the liner being installed, then jumps to the top bed being sloped.
The pre-slope happens off-camera or doesn't happen at all. Homeowners follow the video, skip the step, and reproduce the failure. The 1/4-inch-per-foot pitch under the liner is what determines whether the assembly works for thirty years or fails in three.
The modern Schluter-Kerdi system, which is what we use
The mortar-bed pan is a craft. It takes practice to get the pre-slope right and to fold the liner into the corners without leaks at the seams. For the last decade, almost every bathroom renovation we do uses the Schluter-Kerdi system instead, because it removes most of the failure modes.
The Kerdi system, top to bottom:
- Pre-sloped foam tray. Schluter sells a polystyrene foam tray that is factory-sloped at 1/4 inch per foot toward the drain. You set it in thinset over the subfloor. No mortar work, no math.
- Kerdi-Drain. A bonded-flange drain integrated into the system. The flange has the same orange fleece as the membrane.
- Kerdi membrane. Bonded to the foam tray and up the walls with thinset. Every seam is overlapped 5 inches and bonded with thinset. Every corner is a pre-formed Kerdi-Kereck corner piece. Pipe penetrations get Kerdi-Seal collars.
- Tile directly on the membrane. Set in thinset. No mortar bed, no liner, no clamping drain.
The waterproofing is at the surface, not buried under a mortar bed. Water that gets through the grout hits the Kerdi membrane within 1/4 inch and rolls to the drain. Nothing absorbs water. Nothing rots. The system is verified by a flood test (24 hours of water sitting in the pan before tile goes on) so any leak is caught before the tile is installed.
Schluter has a 25-year manufacturer's warranty if installed to spec. We've never had a Kerdi shower fail in our work.
Liquid membrane (RedGard, Hydro Ban): the simpler middle path
For homeowners who want a more DIY-friendly system that still works, liquid-applied membranes are the move. Laticrete Hydro Ban or Custom Building Products RedGard.
The assembly:
- Pre-sloped mortar bed (still required, still 1/4 inch per foot, still the step that gets skipped)
- Cement board on the walls, taped at all seams with alkali-resistant mesh and thinset
- Roll or brush two coats of liquid membrane (the second coat at 90 degrees to the first) over the pre-slope, up all walls, and into the curb
- Reinforcing fabric in every corner and at the curb, sandwiched between the two coats
- Flood-test the pan for 24 hours
- Tile in thinset directly on the membrane
RedGard works if you do the flood test. The flood test is what catches a missed corner or a thin spot. Skip the flood test and you find out where the leak is six months later when somebody is showering.
What drives the cost of a failed pan in Ottawa
Here's the part nobody scopes for you on the front end. A DIY pan that fails after three years pulls in a stack of separate repair scopes, and each one is driven by how far the water travelled:
- Demolition of the failed shower including walls, floor, and curb
- Mold remediation (mandatory if any black or fuzzy growth is visible), priced by how far the growth has spread
- Subfloor and joist repair, driven by how much framing has rotted
- Re-build the shower with a proper pan, walls, and tile, set by finish level and tile selection
- Repair adjacent damage (ceiling below, walls outside the shower, flooring)
The total depends entirely on how long the leak ran before anyone noticed. A pan caught early stays a bathroom repair. We did one in Manotick last year where the subfloor rot had carried into the kitchen ceiling and the kitchen needed a partial gut, which made the rescue several times larger. Every line of it lands in a written, itemized proposal so you see exactly what the scope covers.
The shower pan is the most expensive square foot of any house if you get it wrong. It is also the cheapest square foot to get right.
Our honest take
Of all the DIY warnings in this series, this is the one I am most direct about. Do not build a custom mortar-bed shower pan from a YouTube video. The skill required is real. The failure mode is hidden for years. And the repair is the most expensive single thing that can go wrong in a residential bathroom.
If you are determined to DIY a shower, use a Schluter-Kerdi kit. The system removes the highest-risk steps and is forgiving of less-experienced installers. Buy the kit, watch Schluter's official installation videos (not random YouTube), and do the flood test.
Better still, on any custom shower we do at Dream Touch, the pan is the part we are not letting somebody else build. It's the foundation of the bathroom for the next thirty years. The pan is the cheapest insurance you can pay for in the entire house.
Frequently asked questions
What slope does a shower pan need?
A shower pan slopes at 1/4 inch per foot toward the drain. In a traditional mortar-bed pan that pitch appears twice: in the pre-slope mortar bed under the liner, about 1.5 inches thick at the wall and 0.5 inch at the drain, and again in the top mortar bed that the tile sits on. The pitch under the liner decides whether the pan lasts thirty years or fails in three.
Why do DIY shower pans without a pre-slope fail?
Without a pre-slope, the liner sits flat on the subfloor. Water that gets through the grout, which it always does eventually, soaks through the top mortar bed, hits the flat liner and sits there instead of running to the drain weep holes.
The mortar bed never dries, mould grows, the subfloor and joists rot, and by year three or four the bathroom smells and the floor outside the shower shows a dark spot.
What is a shower pan flood test and how long does it take?
A flood test fills the waterproofed shower pan with water and leaves it for 24 hours before any tile goes on. Any leak from a missed corner, a thin spot or a bad seam shows up while the membrane is still exposed and fixable. With a liquid membrane like RedGard or Hydro Ban, skipping the flood test means finding the leak six months later when somebody is showering.
How does the Schluter-Kerdi shower system differ from a mortar-bed pan?
The Schluter-Kerdi system puts the waterproofing at the surface instead of burying it under mortar. A factory-sloped foam tray at 1/4 inch per foot replaces the mortar pre-slope, a bonded-flange Kerdi-Drain replaces the clamping drain, and the Kerdi membrane is bonded with thinset, seams overlapped 5 inches, with pre-formed corners and pipe collars. Tile sets directly on the membrane, so nothing absorbs water and nothing rots.
How do you apply a liquid waterproofing membrane in a shower?
A liquid membrane such as RedGard or Hydro Ban still needs a pre-sloped mortar bed at 1/4 inch per foot. Cement board goes on the walls with seams taped using alkali-resistant mesh and thinset. Two coats are rolled or brushed on, the second at 90 degrees to the first, over the pre-slope, up the walls and into the curb, with reinforcing fabric in the corners.
Then flood-test for 24 hours and tile.